


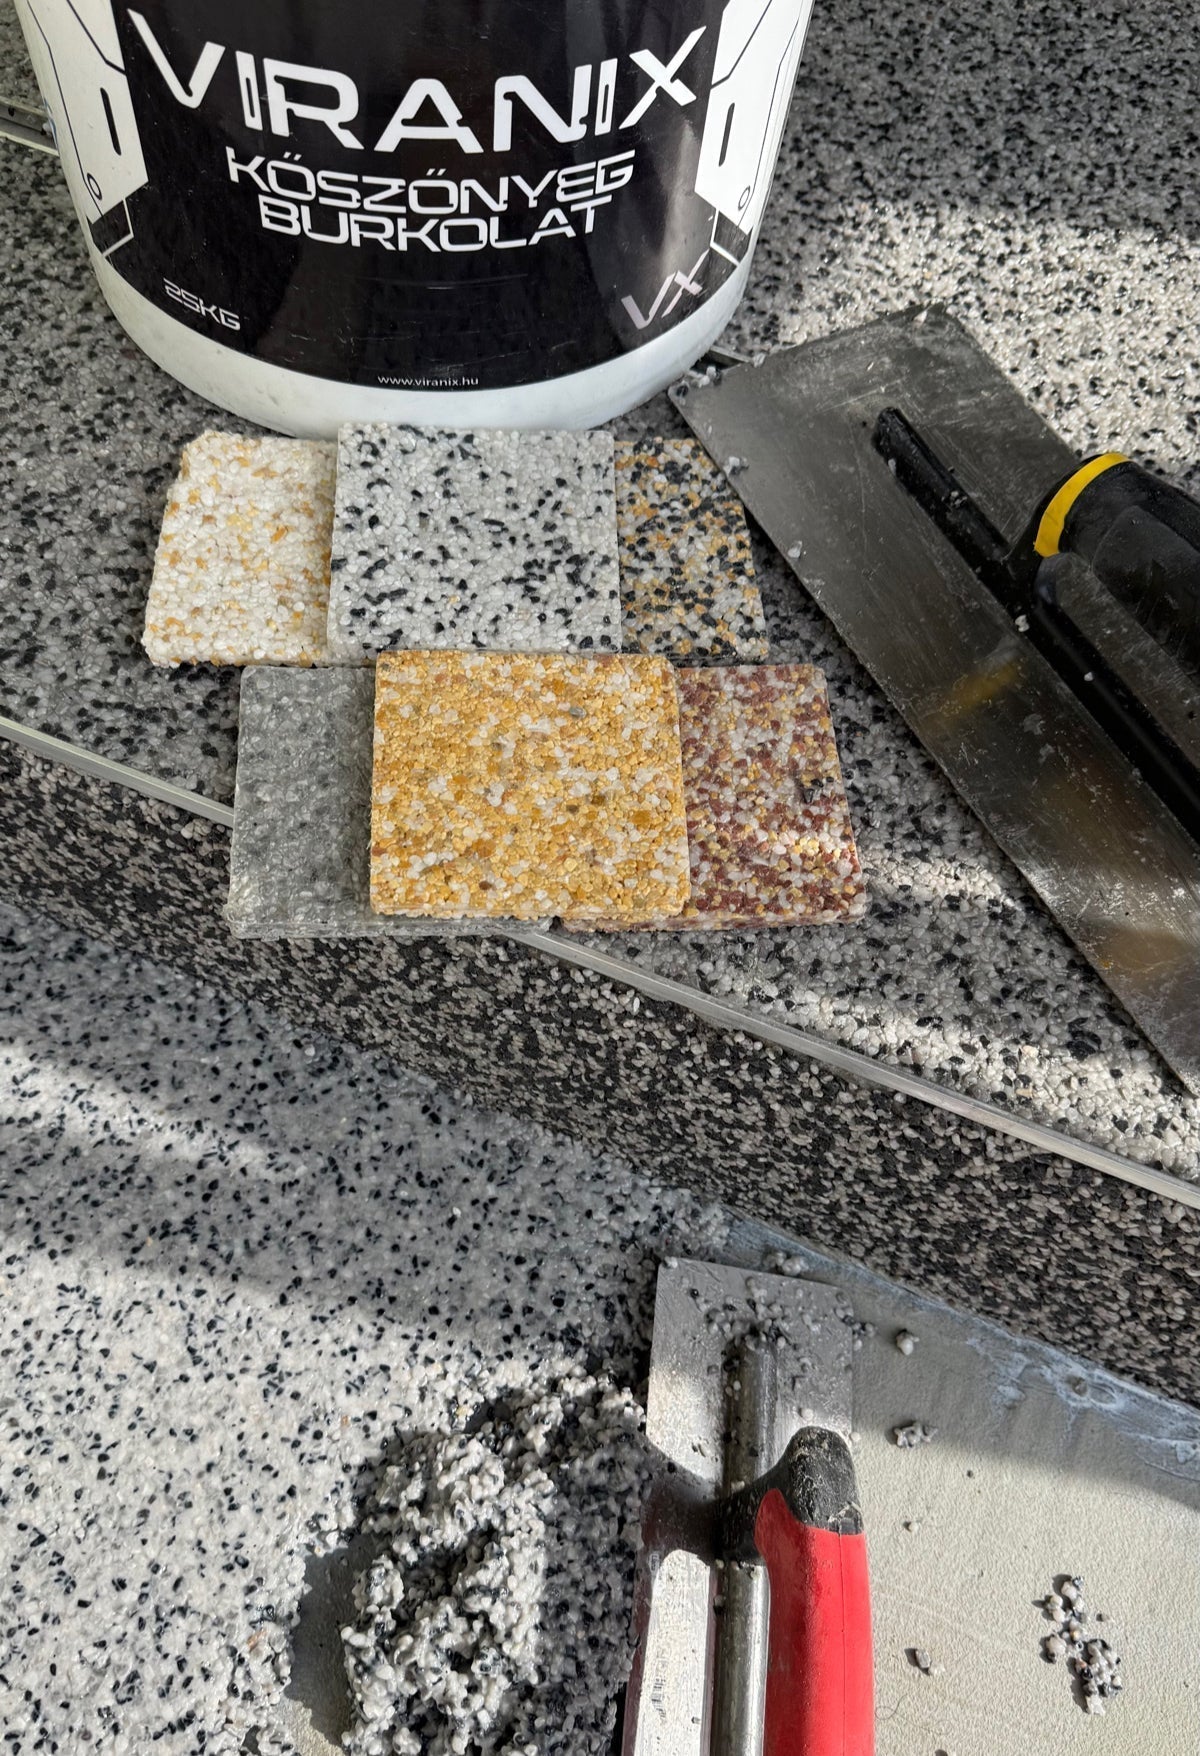
Preparing the Substrate for Viranix Stone Carpet Flooring – The First Step Toward Durable, Premium Installation
The key to the long service life and attractive appearance of Viranix stone carpet flooring doesn't lie only in its innovative, pre-mixed resin system. Successful installation always depends on properly preparing the substrate. On a poorly prepared substrate, even the highest-quality flooring can blister, delaminate, or crack.
In this article, we walk through the full process of professional substrate preparation, the typical mistakes, and the preventive measures recommended by professional installers.

1. Cleaning the surface – the basis of durable adhesion
The first and most important step is making sure the substrate is completely clean and free of dust and grease.
-
Dust removal: use an industrial vacuum or thorough sweeping to remove all dust and loose debris.
-
Degreasing: oil, grease, or paint stains must be removed mechanically (sanding, grinding) or with a degreasing agent.
-
Old coatings: flaking paint or resin layers need to be removed by machine sanding or chiseling.
👉 Tip: if you run your hand across the concrete, no dust or grit should remain on your skin – if it does, the cleaning isn't complete yet.

2. Repairing surface defects – dealing with cracks and level differences
A basic requirement for durable stone carpet flooring is fixing any defects before application.
-
Cracks, holes: fill with a repair mortar or fast-setting concrete repair compound.
-
Level differences: use a leveling layer on uneven concrete surfaces.
-
Edges: it's a good idea to chamfer the edges of the surface at 45°, or reinforce them with an edge protection profile, to ensure stable adhesion.
3. Structural requirements – no stable base, no durable flooring
-
The substrate must be solid and load-bearing – it cannot move or crumble.
-
Fresh concrete: requires at least 28 days of curing time.
-
Moisture content: a maximum of 9% (measured with a CM moisture meter).
-
pH value: a maximum of 10.
-
Suitable substrates: concrete, cement screed, tile, stone, or other solid flooring.
⚠️ Warning: if the substrate is too damp or dusty, Viranix stone carpet flooring won't be able to cure properly, and it will delaminate within a short time.
4. Mechanical preparation – essential for large surfaces
For larger areas, using a concrete grinder or scarifier is recommended.
-
It removes laitance (cement film) and contamination.
-
It opens up the concrete's pores, allowing the resin to adhere much more strongly.
This is especially recommended for outdoor terraces, driveways, or high-traffic walking surfaces.
5. Inspection before application
Before installing the flooring, a technical inspection is mandatory:
-
Moisture measurement: with a CM moisture meter.
-
Adhesion test: apply primer to a small area and check the adhesion.
-
Cleanliness test: running your hand across the surface, no dust or grit should remain.
6. Environmental conditions – the other key to success
Environmental conditions greatly affect the quality of the installation.
-
Temperature: between +5 °C and +30 °C.
-
Relative humidity: max. 80%.
-
For outdoor work: avoid rain, intense sun, and strong wind.
-
Indoors: ensure proper ventilation.
👉 The freshly applied flooring must be protected from rain, dust, and loads for at least 24 hours.
7. Preparing your tools
Because the resin cures quickly, all tools must be ready beforehand.
Tools needed:
-
stainless steel trowel and smoother,
-
roller or brush for the primer,
-
CM moisture meter, concrete grinder, industrial vacuum,
-
protective equipment: gloves, mask, goggles.
⚠️ Important: tools must be cleaned immediately after finishing work, since the resin can no longer be removed once it has cured.
8. Common mistakes in substrate preparation
Even premium Viranix stone carpet only delivers a long-term solution if the substrate is professionally prepared. The most common mistakes are:
-
Excessive moisture content → blistering, delamination.
-
Improper cleaning → the stone carpet doesn't adhere in patches.
-
Ignoring cracks → the flooring cracks too.
-
An unstable substrate → blistering, delamination.
-
Unfavorable environmental conditions → faulty curing, a blotchy or fragile surface.
👉 Golden rule: "First make the substrate perfect, only then install the flooring."
9. Preventive measures and professional recommendations
✅ Recommendations:
-
Plan ahead: drying, repairs, sanding.
-
Use professional measuring and cleaning tools.
-
Work in sections on larger surfaces.
-
Document everything: photos and notes about the preparation.
-
Check the environmental conditions (temperature, humidity, wind).
🚫 To be avoided:
-
Installing flooring on a damp or dusty substrate.
-
Skipping the repair of defects and cracks.
-
Working in unfavorable weather conditions.
-
Failing to clean your tools.
Summary
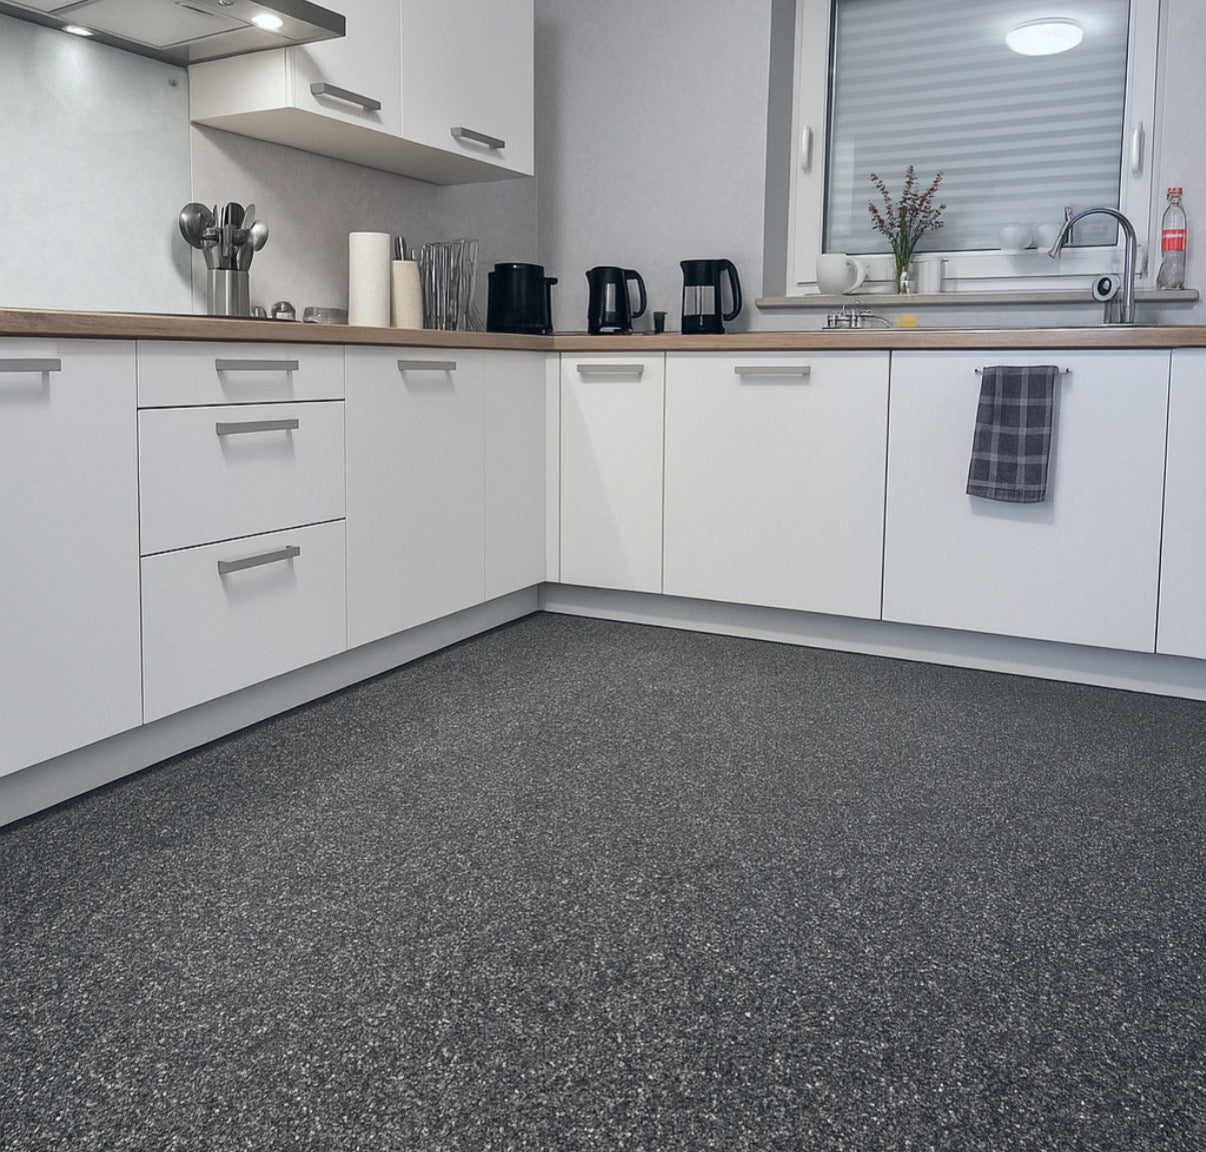
Substrate preparation is the most critical phase of installing the Viranix stone carpet system. A properly cleaned, repaired, stable, and dry substrate is the guarantee that your premium flooring will keep its attractive, long-lasting quality for many years.
By choosing Viranix stone carpet flooring, you're getting the most innovative, pre-mixed resin solution available — but durability hinges on preparation. If you follow the rules and professional recommendations outlined above, you can be confident your flooring will remain flawless for decades.
👉 In the next installment, we'll cover the role of priming in the Viranix stone carpet system, and how it ensures long-term adhesion and structural stability.
Share:
2. Viranix Stone Carpet Priming – Professional Protocol, Measurable Quality